Monitor Linux Network Usage on AWS/Azure etc with vnStat
This blog is inspired by my recent journey to log the amount of data being sent from a server on a monthly basis.
I'm guessing that you're in a similar position to me. I recently deployed a bandwidth heavy application on to an Ubuntu Linux server running on AWS Lightsail. Now while Lightsail gives us a generous amount of bandwidth (3tb on the $10 plan) I'm worrying that it might not be enough.
Why we Monitor Bandwidth Usage
As mentioned above, some services like DigitalOcean and Lightsail offer fairly descent bandwidth packages. However overage changes can be extremely expensive, sometimes costing around $0.12 per GB. Things may work out even more expensive if you are transferring large volumes of data from EC2 or Lambda functions that do not include a free bandwidth tier.
I've often heard people refer to these bandwidth costs as the hidden fee's of the cloud, which is fair when you consider that data transfer costs from old fashioned on-premise data-centers could work out much cheaper.
So it's important to monitor your bandwidth usage, identify trends in usage and avoid surprise costs.
The Solution - vnStat
There's a load of Linux software packages for bandwidth monitoring. I tried several but eventually settled on vnStat.
Why I chose vnStat
Explaining why I chose vnStat might help you decide if it's the right, or wrong tool for you.
Firstly, I wanted something that could be run on Linux 24/7 without consuming much in the way of CPU & RAM, this is mostly because I'm running it on a fairly cheap & low powered instance. I found that there was basically zero slowdown after installing the vnStat. Something that I couldn't say about all tools I tried.
Comparing month-by-month & day-by-day usage is an important feature for me, I needed a tool that could give me daily, weekly & monthly reports on how much data had been consumed. Luckily vnStat can provide the exact reports I was looking for.
Lastly, it's open-source and available on Github.
Installation
I'm assuming that you have an Ubuntu Server 20.04 instance running somewhere on the internet, and you are connected via SSH. If you're using some other distro then the instructions may differ slightly.
First, check for updates.
sudo apt update
sudo apt upgrade
Now install vnStat.
sudo apt install vnstat
Quick configuration
Now we just need to tell vnStat which network interface to monitor traffic on. Find out the name of your interface with the ifconfig tool.
ifconfig
The output should look something like the below.
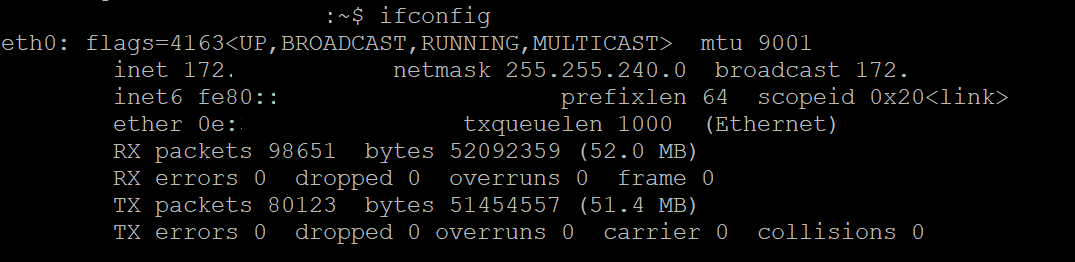
For security, I've blacked out some of the details from my screenshot. However it's important that you note down the name of the interface. Mine is eth0, it's highly likely that yours will be the same unless you have multiple network connections attached to the same VM.
We're now ready to tell vnStat which network interface to monitor. Type in the below command, remembering to replace eth0 with something else if your interface is named something different.
vnstat -u -i eth0
Now the service should automatically run on startup, but to make sure that the daemon is running you can type the below command.
sudo service vnstat start
And that's it. vnStat is now running and you're monitoring bandwidth.
Test & View Reports
Getting reports from vnStat is extremely easy. Wait a few minutes after installation, and then simply type "vnstat" into the terminal.
vnstat

Running this command will give you a brief report on recent analytics. However, you can run more in-depth reports with the below commands.
## Hourly report
vnstat -h

## Daily report
vnstat -d

## Weekly report
vnstat -w

## Monthly report
vnstat -m
I hope this guide has been useful and you got up-to-speed quickly. If you found any problems with the instructions then feel free to reach out to me on twitter. Have a great day!
Final Notes
The steps that I have outlined to install vnStat are applicable to the latest Ubuntu image, howevet the steps should be the same on all modern releases including 16.04, 16.10, 18.4, 18.10, 20.4 and 20.10.
On other Linux distributions such as Suse, Arch and Fedora Linux may have different steps to install applications, however the actually commands that are used with vnStat will remain the same.